Chess Robot
Christmas break just started, 2021 was about to end and instead of going to ski I had to stay home because my brother passed me Covid, it would be a shame if a friend of mine starts begging me to help him write the code for his robotics graduation project that was due two weeks prior.
Robot that plays chess, great project to choose if you are a complete beginner to everything. Well, not that he can change it after he built the whole thing and told the profs that it’s almost done. Anyways here we go, this is what I had to work with:
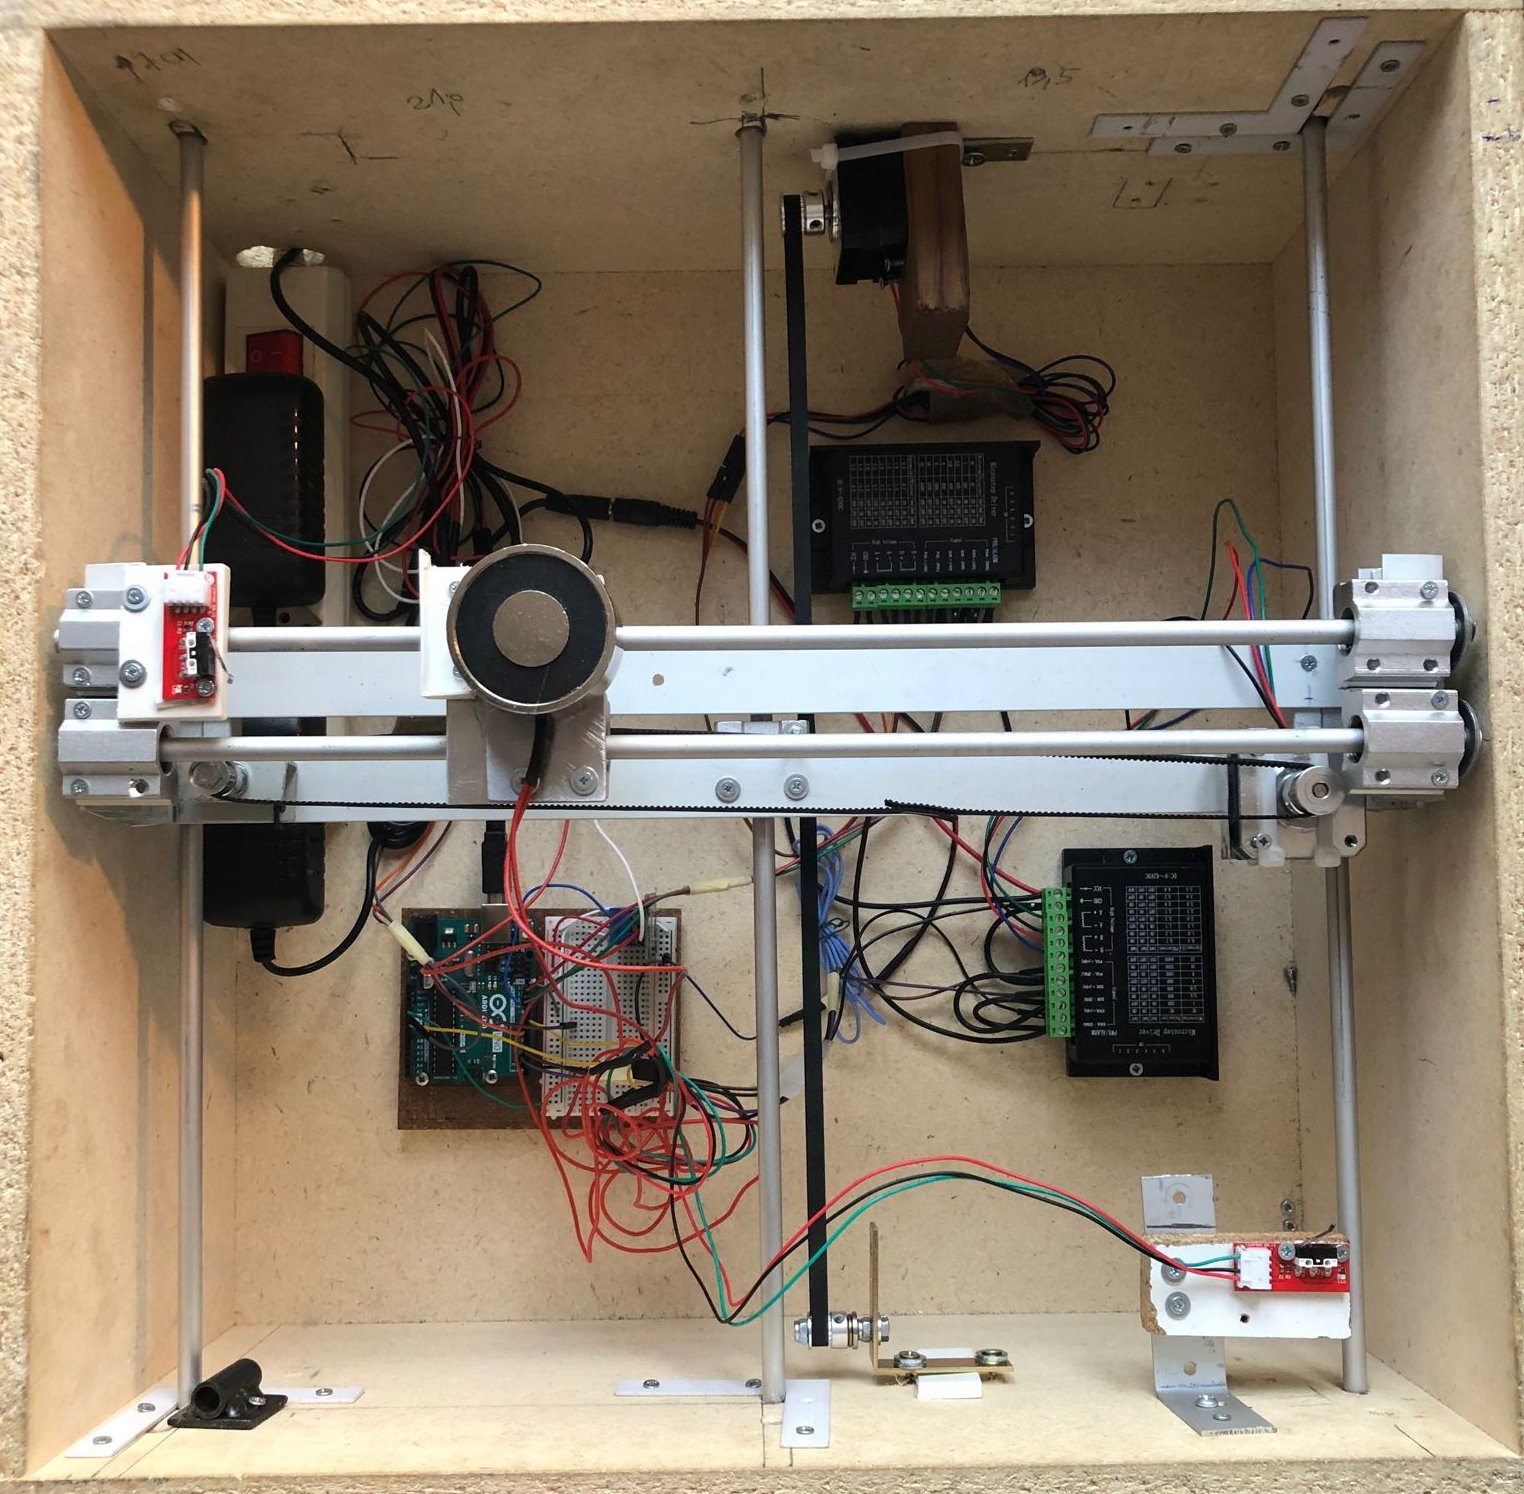
A wooden box with a 2-axis system that moves an electromagnet. The movement is controlled by 2 motors and rubber belts, the motor on the Y axis moves the X axis up and down, the motor on the X axis moves the electromagnet left and right. Push sensors are added at the end of each axis to detect when the magnet reaches the end of the rod so that the motor knows when to stop.
The idea is that the chess pieces can be picked up by electromagnet under the chessboard and then be moved around, voila, chess robot.
This approach restricts it’s capabilities, all the robot could do is pick up a chess piece from one place and get it in another place. No player vs computer, no removal from the chess piece from the board and no special moves like pawn promotion or castling.
I never did anything with Arduino before but I figured that all I needed was basic C and the code to control basic functions, from then it’s logic.
I started by making functions to control the motors and the sensors, a function to turn on the electromagnet, a function to turn off the electromagnet, a function to move x axis magnet and a function to move the y axis magnet, very basic.
The problem that arises is that the motors can’t just move from point A to point B, they turn on and they move until I turn them off, so what I need is to transform time into distance. What I did is record the time it takes the motors to move from one end to the other and then use that time as a measuring unit.
To do that I create a function named Calibrate_X, it activates the X axis motor and it makes the magnet move until it touches the sensor at the other end of the axis. A difference in time between the end of the start is saved and then divided by 1000, an arbitrary number used for convenience. So for example, if the magnet takes 5000 milliseconds to travel then it takes 5 milliseconds for 1 point and 625 milliseconds for a chess square (5000/8). The whole calibration process is repeated for the Y axis.
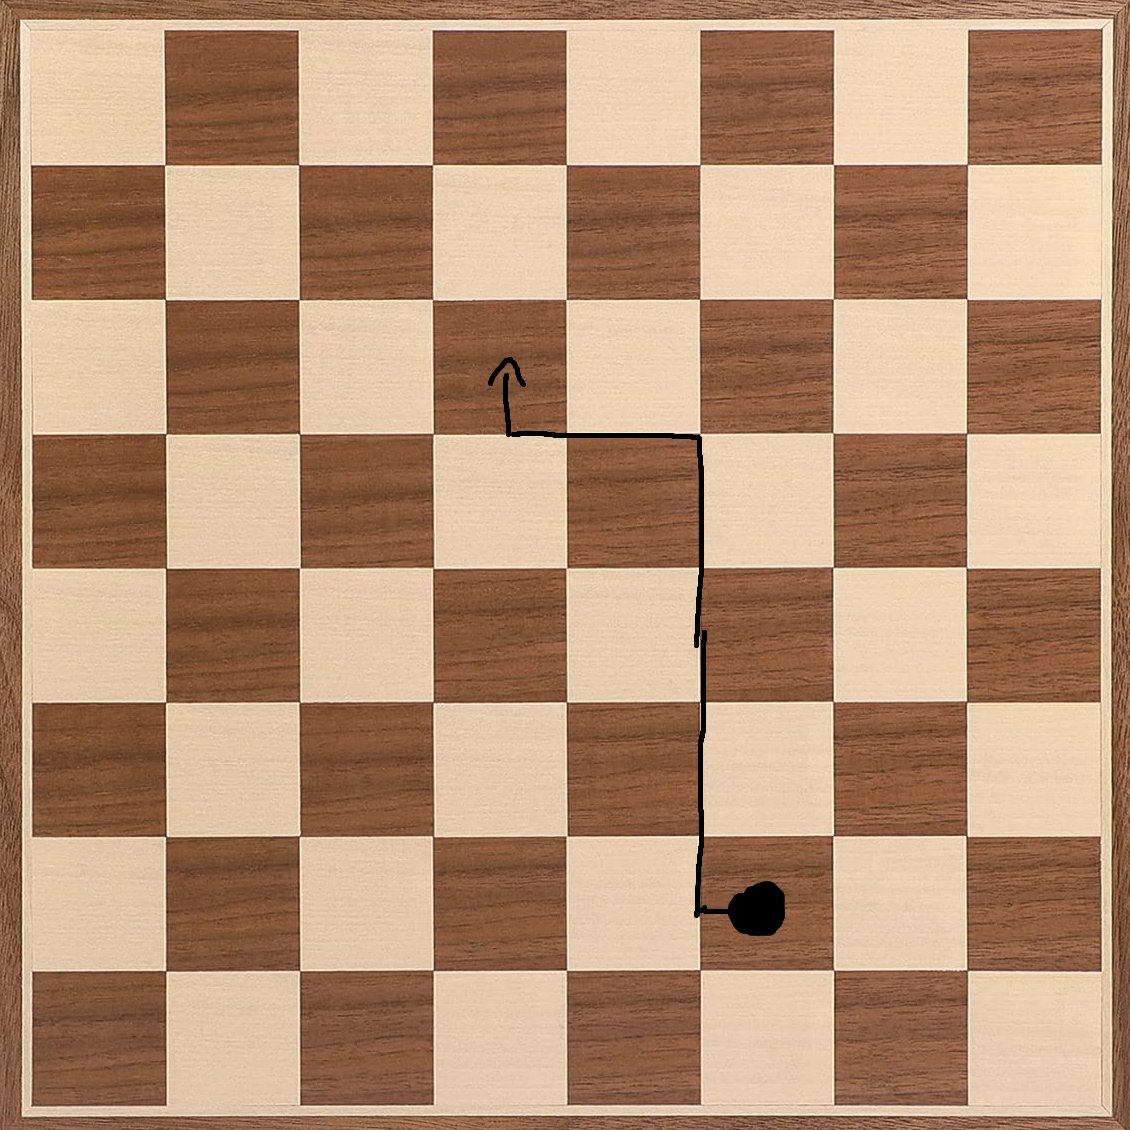
Now I need a way to move the pieces around without them bumping into each other, to achieve that I first move them in between the squares, then to the destination and finally back in the middle of the square, like this:
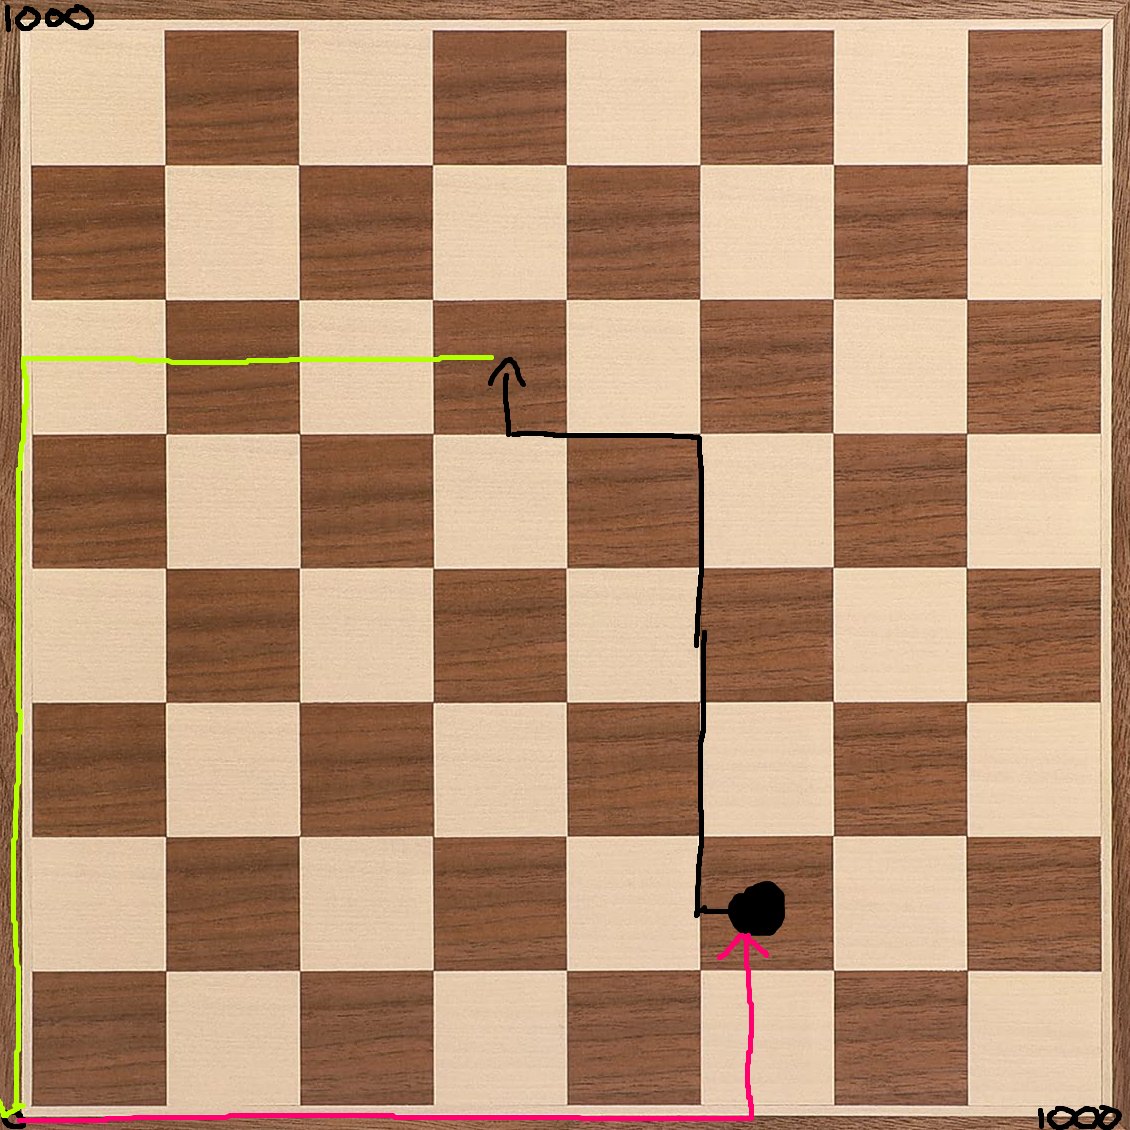
So let’s imagine a 1000x1000 plane in the first quadrant of the XY plane, because of the thing discussed prior all the movements will be multiples of half a square and so each of them will be 1000 / 16 = 62.5 points.
Next I create a function to translate the chessboard square notation to XY axis coordinates by putting the input in the serial monitor. The square A1 will translate to X = 62.5 and Y = 62.5, the square G7 will translate to X = 62.5 * 7 and Y = 62.5 * 7 and so on.
What is left is a function to handle the movement of the motor and a function to handle the path that the magnet is going to take. The path function gets the beginning and the end coordinates and calculates the shortest path to move the chess piece to its destination while avoiding the other chess pieces, it then divides the path into coordinates and gives them to the movement function that moves the chess piece.
Those are all the needed functions, they can be combined to make the whole program, this is how a complete execution would work:
- As the Arduino is turned on the calibration function gets the time it takes a motor to go from the beginning to the end for both X and Y axis.
- The user is asked the beginning and the end coordinates in the serial monitor.
- The beginning chessboard coordinates are converted to XY coordinates.
- The path function is given the coordinate (0,0) as a start coordinate and the converted XY coordinate as the destination. It then calculates how to move the electromagnet, first it matches the X axis and then the Y axis.
- The electromagnet is now under the chess piece, so we call the function to activate it.
- The end chessboard coordinates are converted to XY coordinates.
- The path function is given the converted beginning coordinate as start and the converted end coordinate as the destination. It then calculates how to move the chess piece, first the chess piece if moved in between the two squares, then it is moved to the Y coordinate of the destination, then it is moved to the X coordinate of the destination and finally it’s moved back in the middle of the square.
- The electromagnet gets deactivated, the chess piece gets left on the destination square and then the path function moves the magnet back to coordinates (0,0)
- The user is asked the beginning and the end coordinates in the serial monitor.
The source code and a video of the complete project can be found on my github.
My friend promised me free alcohol for this and of course I never had anything back.
And that’s how you make a chess robot in 3 days in a language you never coded with during Christmas while having Covid.